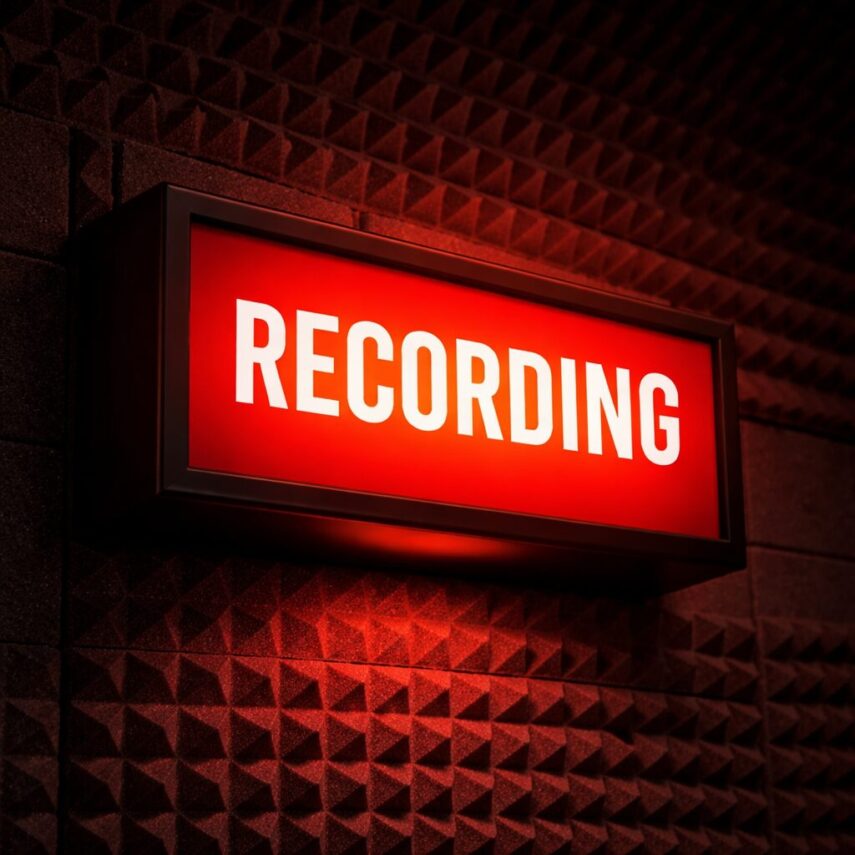
One of the small details that separates a functional studio from a professional-feeling one is the presence of a proper recording light. It signals clearly when recording is taking place, prevents interruptions, and creates a subtle but important sense of ceremony around the act of recording.
Traditionally, recording lights were wired directly into console logic or transport hardware. Today, with modern control systems and automation tools, it is possible to build a flexible and reliable recording light system using software alone. This article describes the process of building an automatic recording light using SoundFlow, Apple Shortcuts, and Apple Home, triggered directly by the record state of Pro Tools.
The goal was simple:
When Pro Tools begins recording, the recording light turns on.
When recording stops, the light turns off.
It sounds straightforward, but getting there required a thoughtful approach to reliability, integration, and state detection.
Why Use Software Instead of Hardware Wiring?
In the past, recording lights were often tied to physical record relays or console logic outputs. While reliable, those solutions require hardware modification and are not always practical in modern hybrid studios.
Using software provides several advantages:
- No hardware modification required
- Works with keyboards, control surfaces, or mouse
- Easily expandable
- Fully configurable
- Integrates with modern smart home systems
Most importantly, the system can respond to actual recording state, regardless of how recording is triggered. Whether recording is started using the numeric keypad, a mouse click, or a control surface such as an Avid S6, the light behaves correctly.
The Core Concept
The system is built around three components:
- SoundFlow – monitors Pro Tools recording state
- Apple Shortcuts – controls smart devices
- Apple Home – controls the physical recording light
SoundFlow watches the Pro Tools transport. When recording starts, it runs a shortcut. That shortcut then tells Apple Home to switch a light on or off.
Each part has a clear role, which makes the system stable and easy to troubleshoot.
Step 1 – Setting Up Apple Home
The first step is to configure the recording light itself.
This can be any HomeKit-compatible device:
- Smart bulb
- Smart plug
- Smart relay
- Smart lighting controller
In Apple Home:
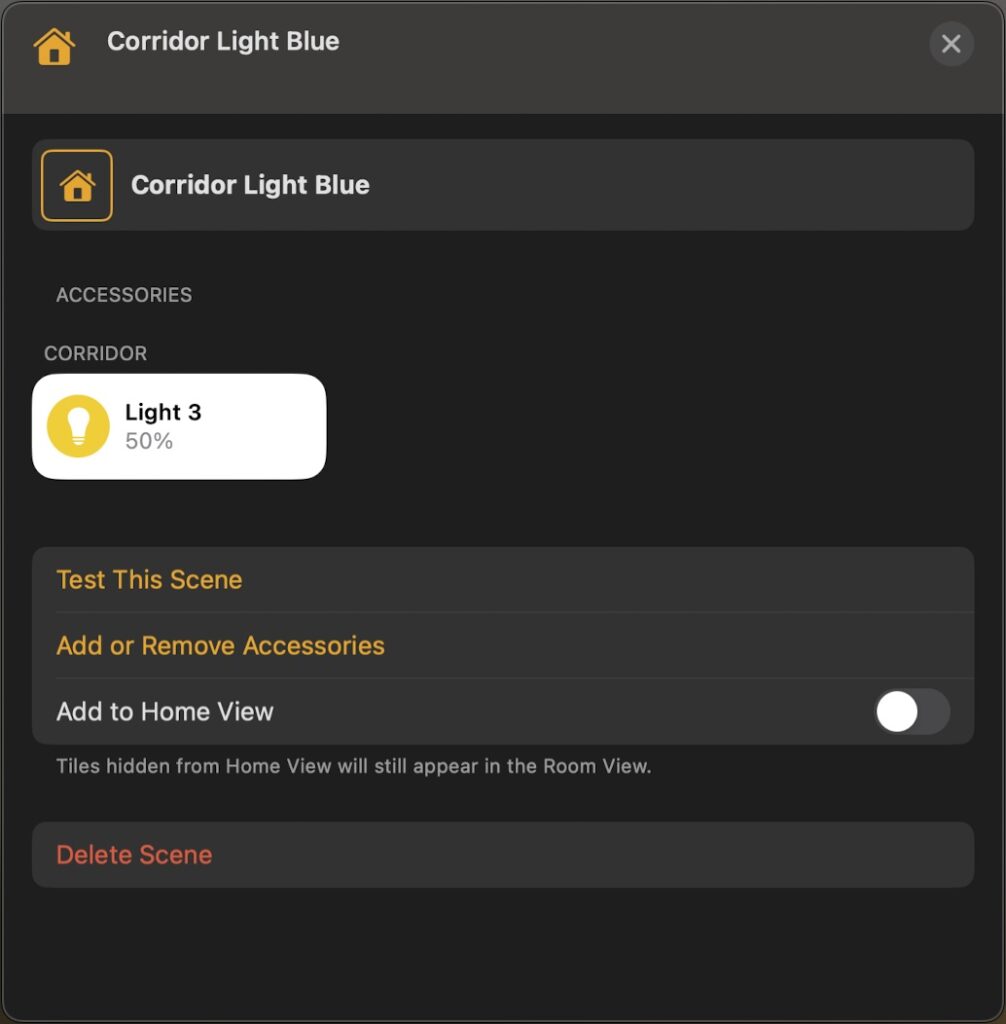
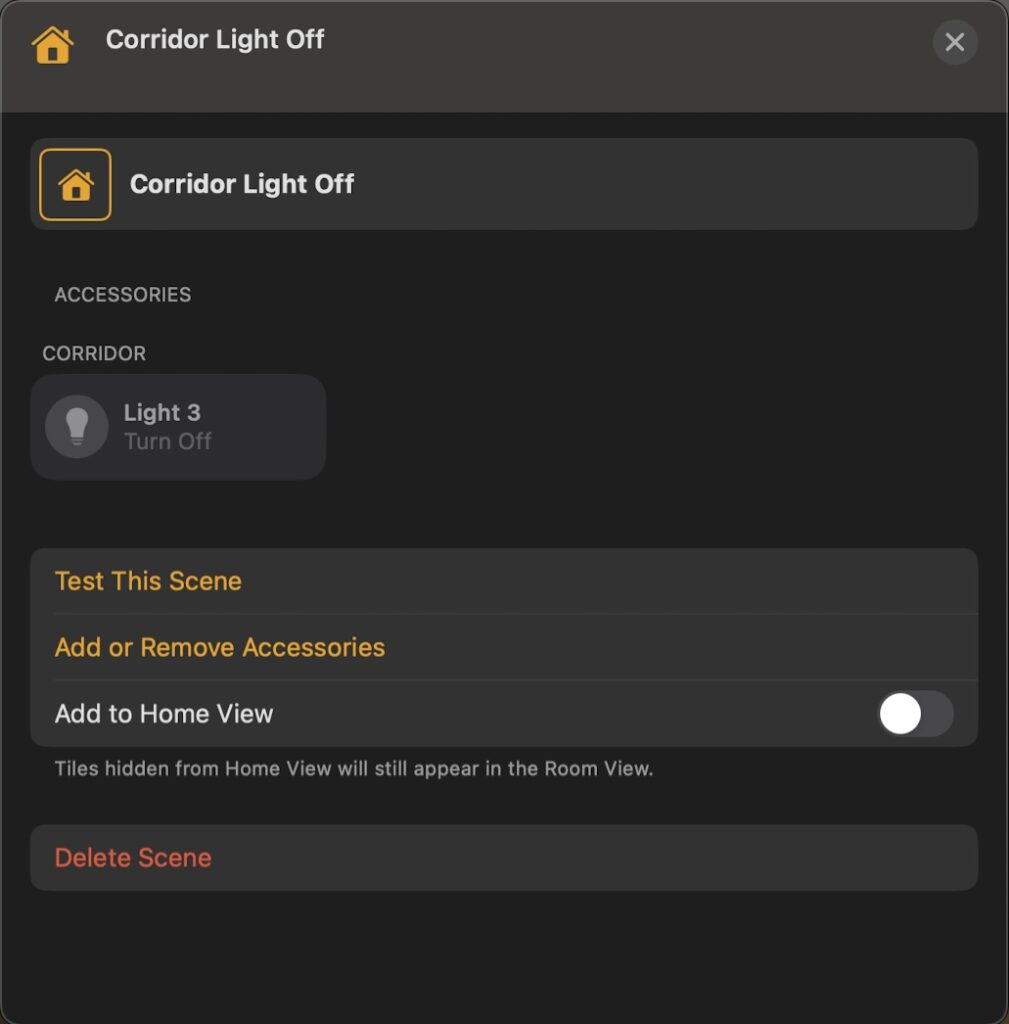
- Add your light or plug.
- Give it a name, in my case it is ‘Light 3’ in the room ‘Corridor’.
Once added, test it manually inside Apple Home:
Turn the light on.
Turn the light off.
In my case I already had the lights installed, so I created two scenes in Apple Home, where the corridor light just outside the studio turns blue when I am recording but also a light that is inside the studio also changes colour, that way I know the recording light is working when I am working.
Step 2 – Creating Apple Shortcuts
Next, create two shortcuts, in the Shortcuts application on your Mac.
- Recording Light On
- Recording Light Off
These shortcuts act as the bridge between SoundFlow and Apple Home.
Recording Light On Shortcut
Open Shortcuts and create:
Recording Light On
Add action:
Control [Home] – ie whatever your Home is called in Apple Home.
Set:
- Accessory: [Recording Light]
- I recommend a scene for this.
That is all that is required.
Recording Light Off Shortcut
Create another shortcut:
Recording Light Off
Add action:
Control [Home] – as above.
Set:
- Accessory: Recording Light
- I recommend using a scene for this.
Test both shortcuts manually.
Run:
Recording Light On
Light turns on.
Run:
Recording Light Off
Light turns off.
Only continue once this works reliably.
Step 3 – Monitoring Pro Tools Recording State
The next challenge is detecting when Pro Tools is actually recording.
This is not the same as record-arm. A track can be armed without recording taking place. The system must detect transport recording, not track enable state.
SoundFlow makes this possible by reading the Pro Tools transport interface directly.
The script watches the Record Enable transport button, specifically looking for the state that indicates recording is active.
Here is the script used:
if (sf.ui.useSfx && !globalState.OPP_disableSfx) sf.ui.useSfx();
function main() {
try {
if (!sf.ui.proTools.isRunning) {
if (globalState.wasRecording) {
sf.system.execShortcut({
shortcutName: ‘Recording Light Off’
});
globalState.wasRecording = false;
}
} else {
const recordButton = sf.ui.proTools.mainWindow.transportViewCluster.transportButtons.buttons.whoseTitle.is(‘Record Enable’).first;
const buttonValue = recordButton.value.invalidate().value || “”;
const isRecording = buttonValue.includes(“Is Recording”);
if (isRecording && !globalState.wasRecording) {
sf.system.execShortcut({
shortcutName: “Recording Light On”
});
}
if (!isRecording && globalState.wasRecording) {
sf.system.execShortcut({
shortcutName: “Recording Light Off”
});
}
globalState.wasRecording = isRecording;
}
} catch (err) {
// optional: log(“Watcher error: ” + err);
}
}
function runForever(name, action, interval, timeout) {
var now = (new Date).valueOf();
if (now – globalState[name] < timeout) throw 0; // Exit if we were invoked again inside the timeout
globalState[name] = now;
sf.engine.runInBackground(function () {
try {
while (true) {
sf.engine.checkForCancellation();
globalState[name] = (new Date).valueOf();
action();
sf.wait({ intervalMs: interval, executionMode: ‘Background’ });
}
} finally {
globalState[name] = null;
}
});
}
runForever(“isRecordingLightRunning”, main, 250, 5000);
[Please Note- if you want the script to work without needing to edit it then you will need to call your shortcuts ‘Recording Light On’ and ‘Recording Light Off’ respectively.]
To make this work in Soundflow go to Soundflow/New Script and then paste the script into the text box.
That is it!
Understanding What the Script Does
The script runs continuously in the background.
It checks:
- Is Pro Tools running?
- Is the transport currently recording?
If recording starts it will trigger the shortcut:
Recording Light On
If recording stops it will trigger the shortcut:
Recording Light Off
The logic also prevents repeated triggers by remembering the previous state. This ensures the light only changes when the recording state actually changes.
Without that memory, the system would repeatedly trigger the same command, which would be inefficient and potentially disruptive.
Starting the Script Automatically
To make the system truly seamless, it should start automatically when the computer boots.
This is done using an Application Trigger.
In SoundFlow:
Add Trigger:
Application Trigger
App: Pro Tools
Event: Launch
This means:
When Pro Tools starts → start the watcher script.
Why This Approach Works Well
The strength of this system lies in its flexibility.
Recording can be triggered from:
- Numeric keypad
- Mouse
- Control surface
- Automation
- Keyboard shortcuts
The light responds correctly in all cases.
This makes it suitable for professional environments where multiple control methods are used interchangeably.
The Real Value of Small Details
A recording light may seem like a small addition, but it changes the feel of a studio.
It creates:
- Clear communication
- Reduced interruptions
- Professional atmosphere
- Confidence for performers
More importantly, it removes friction from the recording process.
No one has to remember to turn a light on. It simply happens.
Final Thoughts
This project demonstrates how modern automation tools can replicate, and in some cases surpass, traditional studio infrastructure.
Using SoundFlow, Apple Shortcuts, and Apple Home together creates a system that is:
- Flexible
- Reliable
- Expandable
- Software-defined
- Hardware-independent
Most importantly, it integrates seamlessly into the recording workflow.
Addendum: Thank you to Chad Wahlbrink from the Soundflow forum for a correction to the script. I was a ‘while(true)’ loop in the original script and he kindly converted it to a ‘runforever’ script.
Notes on the article: I used Codex to generate and test the script and ChatGPT to make an initial draft of the article, which was then edited significantly for content and flow.